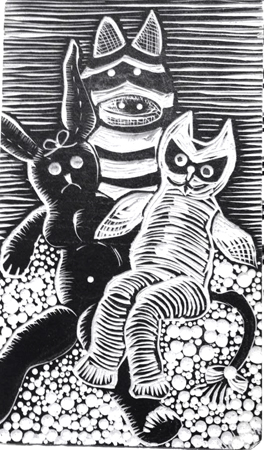
Sock Orphans – like the Isle of Misfit toys- these are unique critters created from one of a kind socks. Maybe someday their mate will show up in another load of laundry and they will have their own significant other. This is a small linoleum tile (as opposed to a block.)
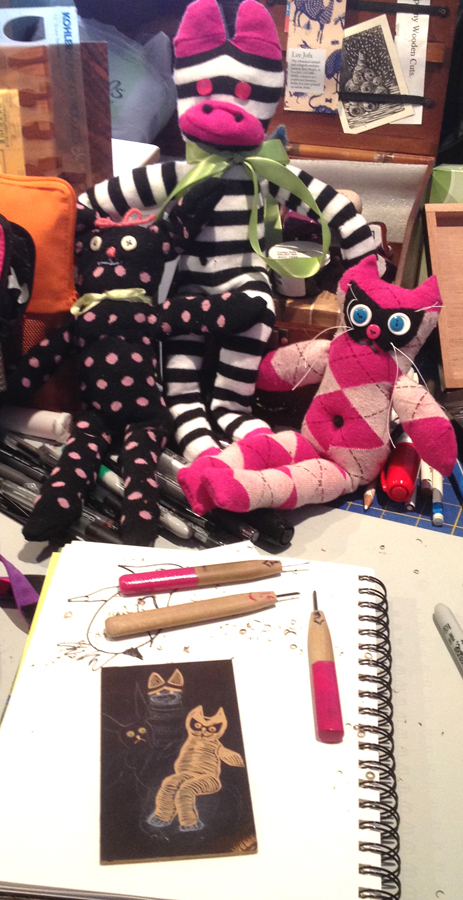
Carving in progress. Relief printing is like the old scratchboards I used in my Design classes to teach students to think about the highlights instead of the shadows. You are carving for the light. So I tone my lino and wood blocks with ink or Sharpie marker thinned with rubbing alcohol. The darker surface helps me to know where the light areas are and where I still need to carve for texture or shading. You can sketch your design on with a white chalk pencil or use a red transfer paper. I often use both- the transfer gives me the general shapes like a paint-by-number. The linear marks in white pencil remind me to cut a certain area with lines going a certain direction or to put a texture in that area.
The most important thing to remember about relief printing– everything is in reverse. So plan your image accordingly. Text is the most problematic, but later in this page I will show you my favorite tricks.
Linoleum tile 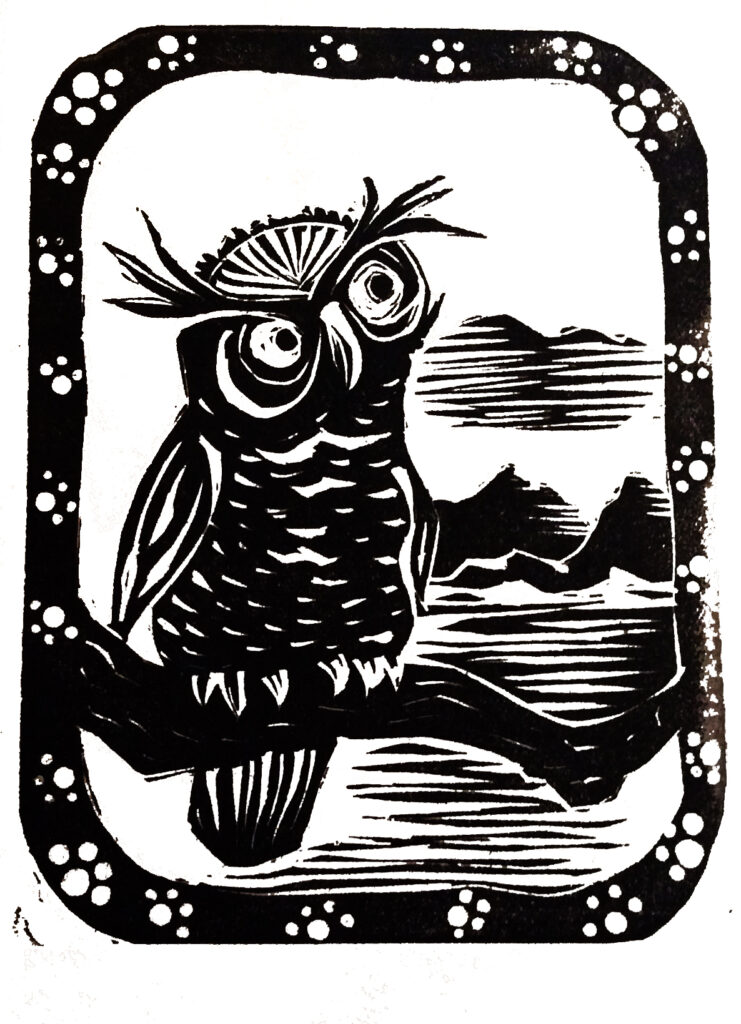
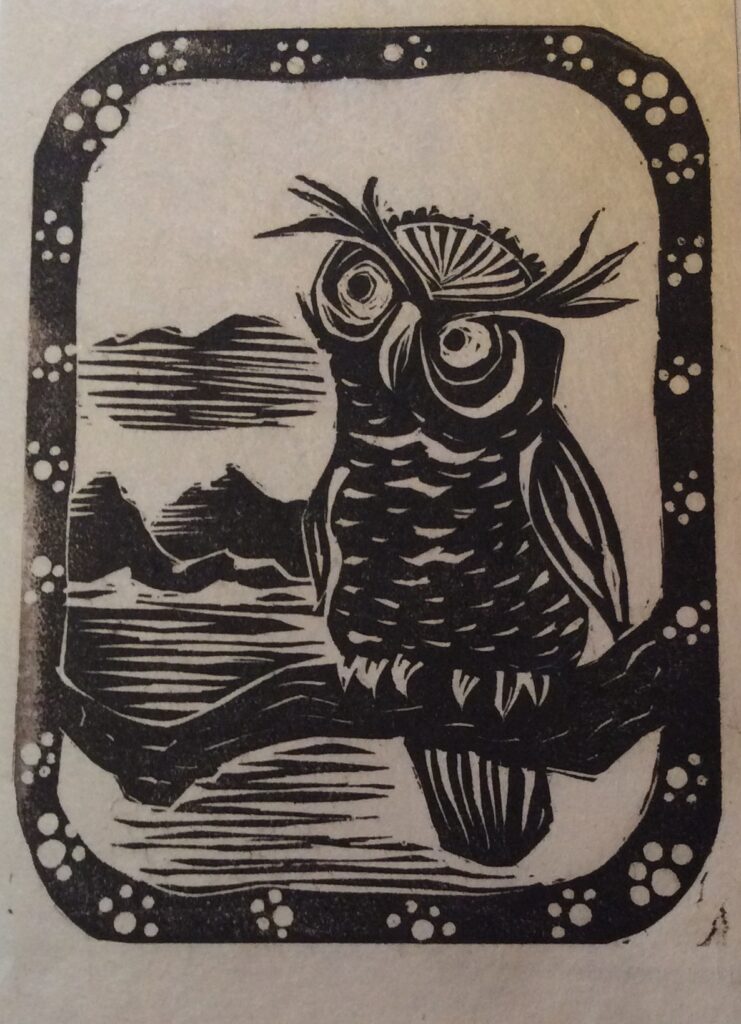
Print- The image is a reverse of the block 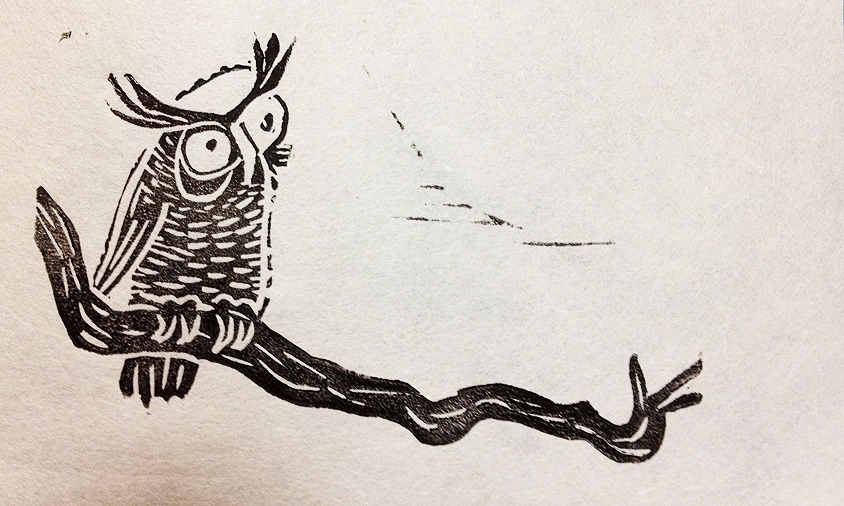
First version for logo 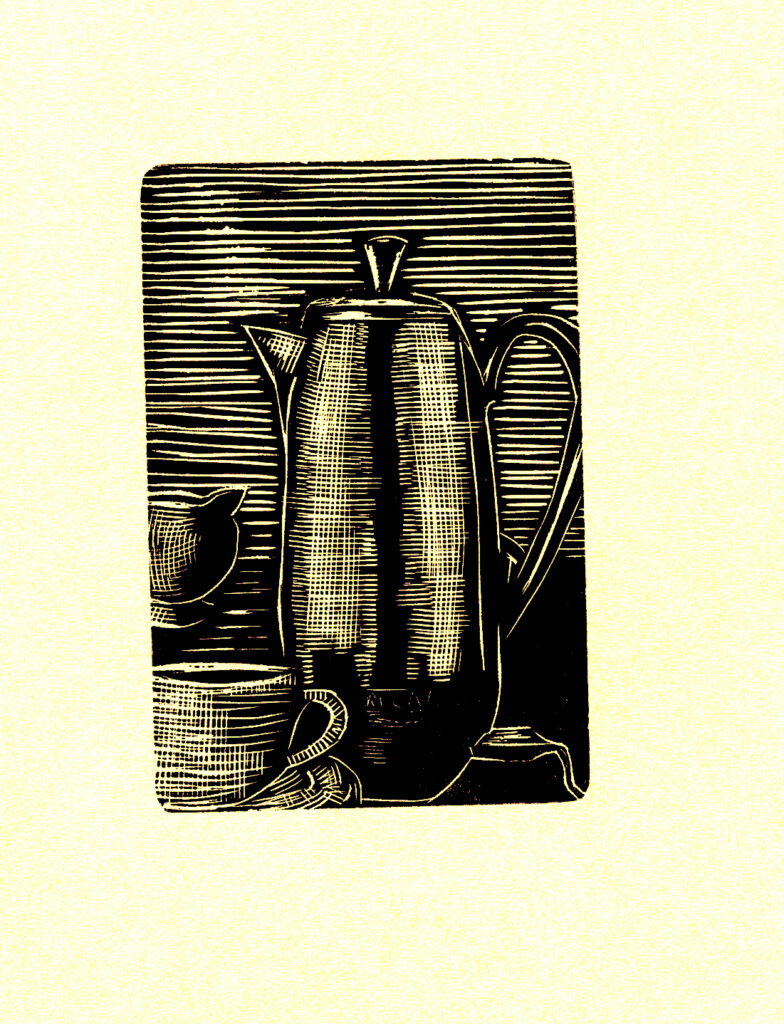
Wood Engraving- finer lines 
Wood Engravings 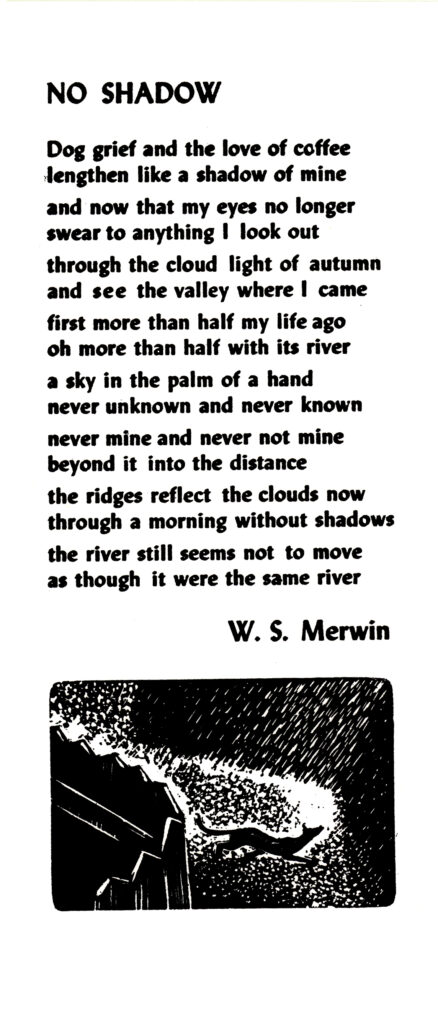
Lead type and wood engraving printed together on a Vandercook press 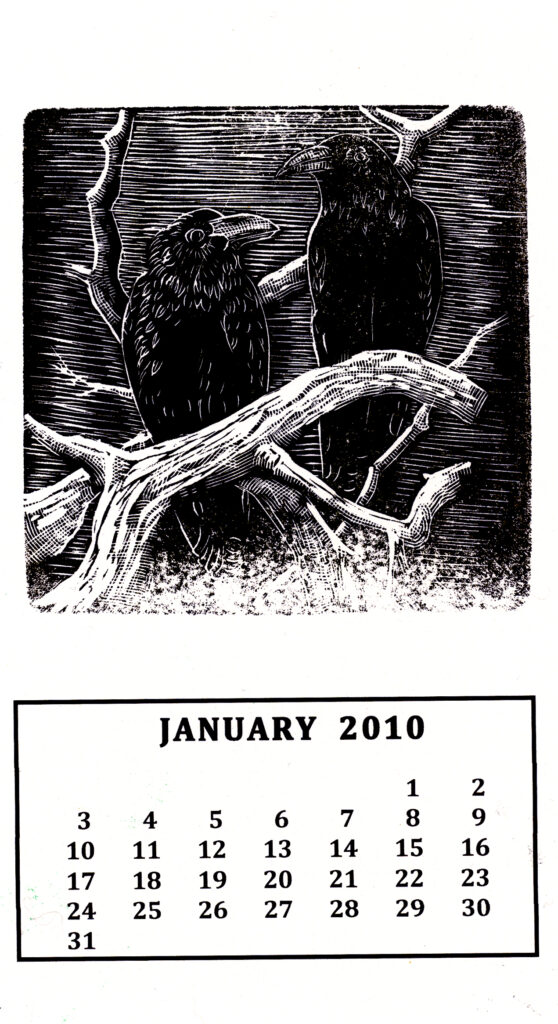
Wood Engravers Calendar page
Engraved on a sample block of Corian countertop material