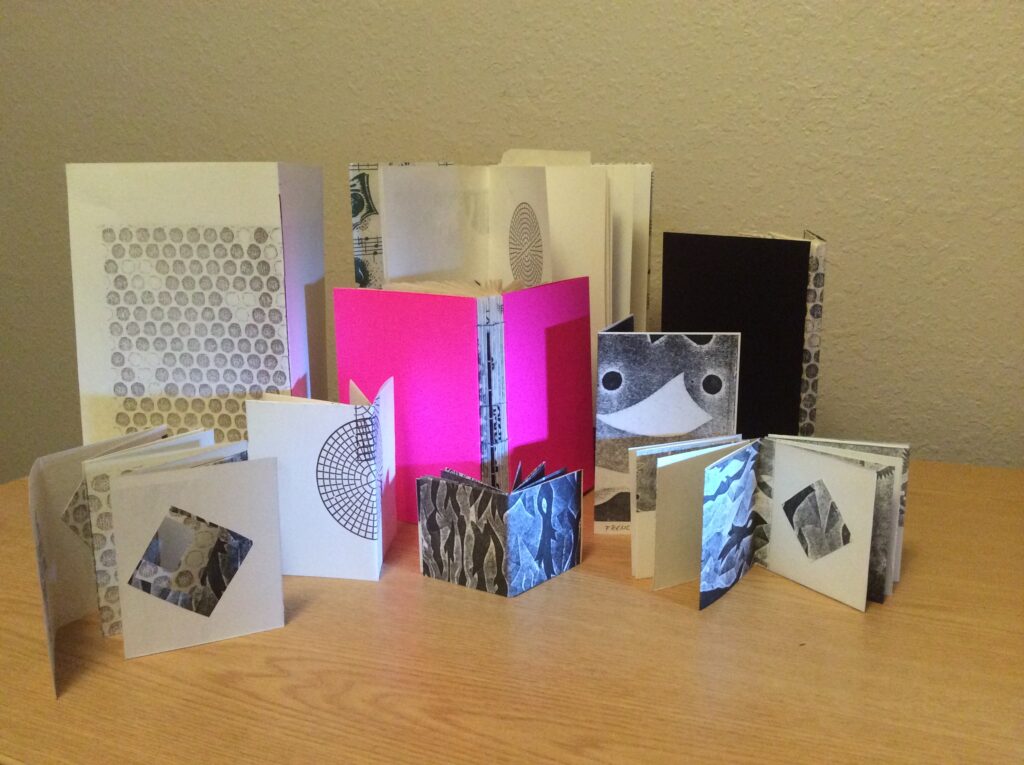
Books. They come in all sizes and serve so many purposes. Stories to inspire us, texts to teach, manuals to guide us. I like to think that they can also be art to fascinate and intrigue us with extraordinary bindings and playful content.
Growing up, I spent my summers walking back and forth getting books from the library. I loved picture books and especially, the illustrations. I loved to draw, color and even took watercolor lessons from Mrs. Jackson, a local artist. My grandmothers taught me to sew and embroider and to crochet edgings on fancy pillowcases. Sewing, reading, drawing, writing– that defines what books need most. I started making books with what I had- just notepaper, construction paper, and yarn. It doesn’t take much in the way of materials or supplies to create a pretty nice book.
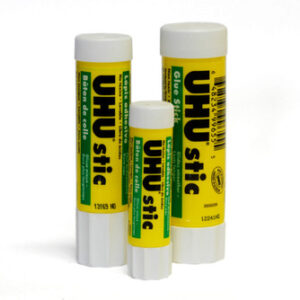
Uhu glue sticks 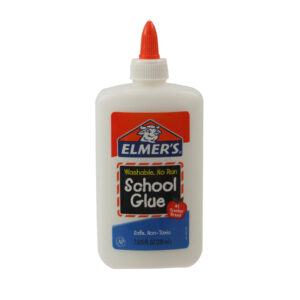
Basic school glue 
Heavy needle & thick thread 
Copier paper
To get started: simple materials are best. For most covers and some books- I used a UHU glue stick rather than school glue. There are two reasons: it is less messy because you can apply it just where you need it. Second: all paper warps when it gets wet and it take a long to dry under weights. Drawings and color copier inks can be spoiled by the dampness of the glue on the back of the paper. I learned this the hard way…
For books with a traditional sewn binding- heavy thread is best. Buttonhole thread or a heavy nylon thread is best and a needle with a large eye and a slightly dull point (like a crewel point or tapestry) works well. Yarn is too stretchy, but ribbon can add a special touch to basic pamphlet or Japanese ledger bindings. A T pin, awl or a paper punch might be helpful for making the holes before you sew.
Most important supply: a pile of paper for the pages. I like to use 100% cotton stationary paper from Office Depot for my artists books; but when I was starting out- I just used copier paper. As my students know, I always have a pile of “scrap paper” for doodling and doing math problems on my desk. They are all recycled handouts and are perfect for making practice books. That way if they don’t work- I can just recycle them.
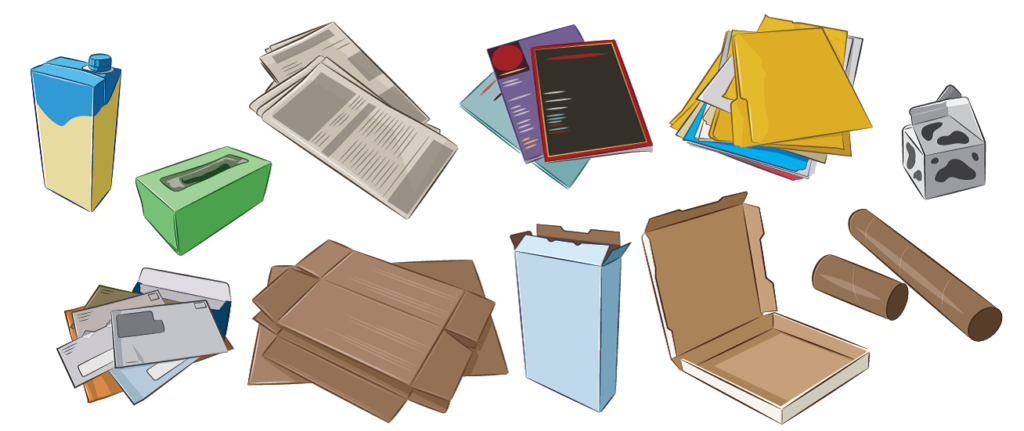
But I save other items that make great covers: old calendars with photographic pictures, tissue boxes with bold graphic designs, old file folders that can be used to stiffen up a drawing on thin paper, cereal boxes with bright images for fun sketch books. Stamps and stickers and Tyvek from envelopes can all be reused. Newspaper is a good thing to use to protect surfaces when glueing. I don’t use cardboard shipping boxes much for making books, but I do store materials in them. Fancy papers go in tubes to keep them from getting torn and wrinkled.
TIME TO MAKE A SIMPLE BOOK
- Get 4-6 pieces of paper
- A heavy piece of paper or cardboard box for a cover
- Needle and thread

Tissue box book- three pieces of copier paper, and one colored paper for inner cover
Fold each paper in half – hamburger style- then in half again. Stack them inside one another with the colored paper on the outside. Break down the box – we just need the top with the hole and one flap for the back of the book
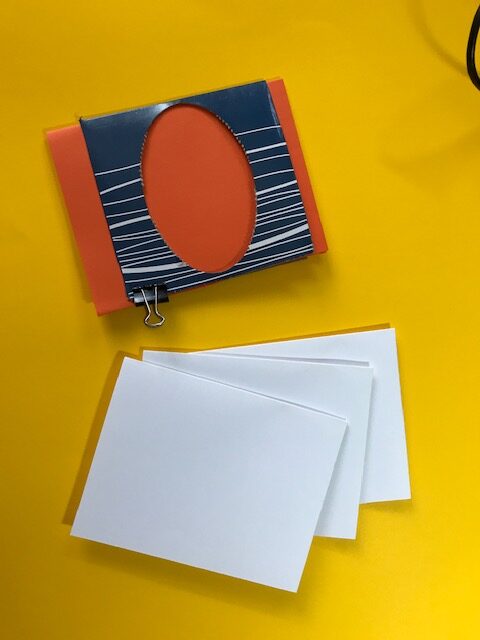
Trim the box and cut the paper to fit inside the box 
A clip is handy for holding papers while you cut 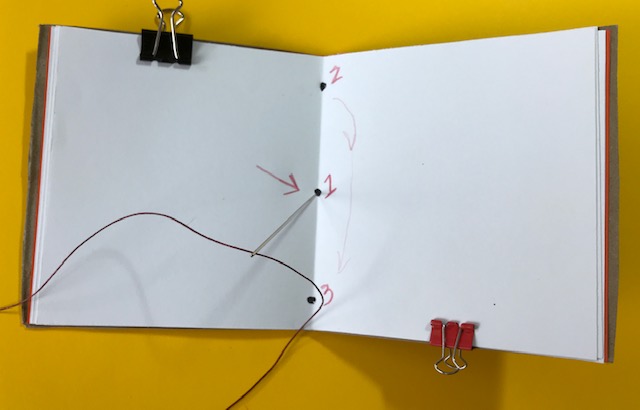
Stack the papers together with the cover
Punch three holes with a T pin or big sharp needle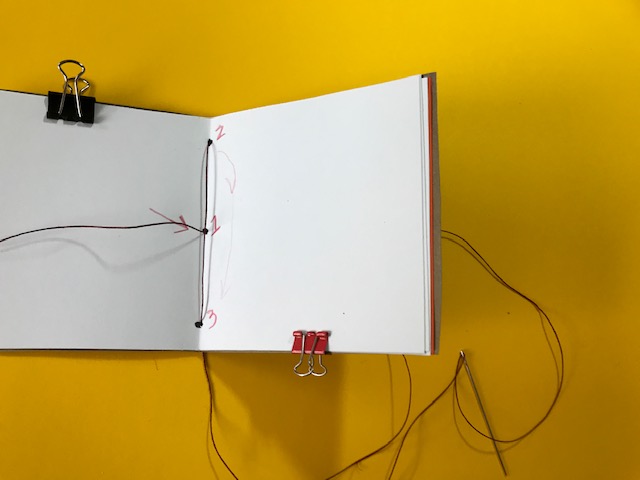
Sewing- Go out at 1 leaving a long tail and come back in at 2
Go back out at 3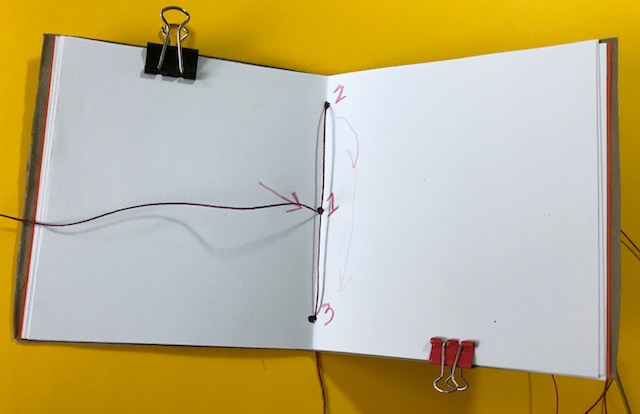
Long stitch in the middle, tail on the left 
Come back in at 1- make sure the needle is on the right of the long stitch . Snug up your threads and tie a square knot- trim tails 
Put your finished book under a pile of books over night so it stays closed. Decorate the cover and write a story or sketch inside!